


Eager to roll up your sleeves and transform your car into a showroom stunner?
Automotive detailing isn't just about cleaning cars - It's an art form, it's a meticulous process, and it requires a very particular set of tools.
In this article, we'll explore the arsenal of tools plus insider tips and tricks used by professional detailers to help you achieve showroom-quality results.
Park your ride in a shaded space and gather your tools. Let's dive into the key steps that will make your ride shine.
Where to Begin, Inside or Out?
One common dilemma many car owners face is deciding whether to clean the interior or exterior first.
Across various automotive forums, there is no consensus on whether to clean the interior or the exterior of a car first; you can choose an approach based on your priorities and specific circumstances.
According to Turtle Wax’s guide on detailing a car completely,
“Interior detailing will require opening doors and getting in and out of the car often, which will likely dirty the outside of the car. Therefore, many auto detailers start by detailing the interior of the car. When, once the inside is clean and protected, they close the doors and windows and focus on exterior detailing.”
On the other hand, many people prefer to start with the exterior so Dubizzle offers this tip to make things simple:
“Start with the grimiest part of the vehicle. Usually, it is the exterior that is affected far more than the interior. If that is the case, start with exterior cleaning, but if the interior is filthier somehow, start with that.”
Interior Car Detailing
Starting with car interior cleaning is recommended if you’re after more thorough results, ample drying time, and ensuring that any dislodged debris or dust doesn’t affect your freshly cleaned exterior surfaces.
It also helps you avoid bringing moisture inside a car, which can happen if you step into it with wet shoes after washing the exterior.
Here’s how to start interior car cleaning according to ChrisFix:
“To start the super clean, it's important to roll down your windows to prevent any oily protectants from getting on them, which is a pain to clean off. You're also going to want to disconnect the battery since the doors are going to be open and you don't want to drain the battery. And finally, we need to remove the seats so we have more access to the interior.”
Don’t forget to take out personal belongings, uncollected trash, and car floor mats as well.
As soon as all of that’s done, make sure you have the necessary tools and materials (we’ll list them all below) - it’s time to really get into the deep cleaning process.
Dashboard
In the video above, ChrisFix starts with the dashboard and breaks this part into three steps: dust removal, cleaning, and protection.
Materials Needed:
- Soft bristle brush
- Vacuum cleaner with attachments
- Microfiber towel or cloth
- All-purpose cleaner
- Protectant

Step 1: Dust Removal
Clean the vents with a soft bristle brush and a vacuum cleaner with attachments. Use your vacuum’s different attachments to reach tight spots.
Afterward, use a microfiber towel, just slightly damp with clean water, to remove dust from the rest of the entire dashboard, including the infotainment screen and buttons.
Avoid wiping your dashboard with a paper towel or other types of cloths as they can scratch the glossy surfaces and screens on your dash.
Step 2: Cleaning
Apply a suitable cleaner to the dashboard; it’s okay to use an all-purpose cleaner as long as it won’t cause damage to materials such as plastic, vinyl, and leather.
Instead of directly spraying the cleaner onto your dashboard’s surfaces, spray the cleaner onto a microfiber towel to prevent any droplets from spreading.
This way, you have a safer and more controlled amount of cleaner on your towel for cleaning your dashboard.
It’s best to avoid excess moisture as this can cause short-circuiting in electronics, mold and mildew, and corrosion on metal parts.
After applying your cleaner, wipe it off, along with the dirt, with a microfiber towel.
Step 3: Protection
Finish by applying a protectant to the dashboard. ChrisFix recommends using a product that offers UV protection.
This will create a barrier that can protect your dash from fading, discoloration, and cracking. He also adds that it’s best to choose low gloss protectants to avoid glare.
Door Panels
Next up, we have the door panels; these contribute significantly to the overall appearance of your car's interior. Check out the materials and steps below to clean and maintain them.
Materials Needed:
- Vacuum cleaner with attachments (soft brush and crevice)
- Material-specific cleaners (leather cleaner, plastic/vinyl cleaner, carpet cleaner)
- Microfiber towel or cloth
- Soft bristle brush
- Compressed air canister, air compressor, or handheld air blower
- Protectant

Vacuuming
First, remove loose dirt and debris. A soft brush is ideal for delicate surfaces, so use your vacuum cleaner’s soft brush attachment to gently remove dust and dirt from the door panels.
Start from the top and work your way down; paying special attention to the areas around the door handle, speaker grills, and storage pockets.
For hard to reach areas, such as the seams where the panels meet the windows, you can switch to your vacuum’s crevice attachment.
Deep Cleaning
Use appropriate cleaners for the materials on your door panels. If they’re leather, use a leather cleaner; if they’re plastic or vinyl, use a plastic or vinyl cleaner. Clean fabric areas with a carpet cleaner.
Spray a small amount of cleaner to a microfiber cloth and gently rub it into your panels. Avoid spraying directly onto the panel to prevent oversaturation and potential damage. Use a soft bristle brush to gently scrub textured or heavily soiled areas.
Wipe down the entire door panel, including the armrest, handle, and storage pockets.
To get rid of stubborn dirt on speaker grills, you can use a can of compressed air. This is especially effective for grills with fine mesh or intricate patterns.
Alternatively, you can also use an air compressor or a handheld air blower.
Whatever you use, just make sure that you start with a low air pressure setting (around 30-40 psi) and gradually increase air pressure if necessary to prevent accidental damage.
Protecting
For added protection, apply a protectant suitable for the material of your door panels. This helps maintain the look and longevity of the surfaces.
Apply a high-gloss protectant, ensuring it dries to a non-greasy finish to prevent dust accumulation.
Upholstery and Carpets
Keeping car upholstery and carpets clean is essential for comfort, optimum air quality, and reduced odors in your car’s interior. Over time, however, spills, stains, and everyday wear can leave them looking tired and worn.
Listed below are the materials that will help restore their fresh appearance.
Materials Needed:
- Stiff bristle brush or handheld broom
- Vacuum cleaner with attachments (brush and crevice)
- Stain remover or upholstery cleaner
- Soft bristle brush
- Upholstery cleaner
- Microfiber towel or cloth
- Steam cleaner (optional)
- Protectant

Vacuuming
Given that you’ve already taken out the removable carpets, start by shaking them vigorously and beating them against a hard surface to dislodge loose dirt and dust. Remove any clinging debris that you can manually pick up.
Use a stiff bristle brush or a handheld broom to loosen and sweep away any dirt, dust, or crumbs from the carpet surface. This will help bring dirt to the surface, making it easier to vacuum.
Vacuum the upholstery to remove loose dirt, dust, and debris thoroughly. Use the crevice tool to reach into tight spaces and corners. Do the same with the carpets and use the brush attachment to agitate the fibers and lift dirt from the surface.
Spot Treatment
Inspect the upholstery and carpets for any stains or spots. Apply a stain remover or upholstery cleaner to the affected areas and use a soft bristle brush to gently work the cleaner into the fabric fibers.
Make sure to check the product instructions and use the product accordingly.
Cleaning Upholstery
Dip a soft bristle brush into a solution of upholstery cleaner and gently scrub the upholstery in circular motions. Work in small sections, starting from the top and moving downwards. Avoid over-saturating the fabric to prevent excess moisture buildup.
Cleaning Carpets
Similar to cleaning upholstery, apply the same cleaning solution to the carpets in a back-and-forth motion using the same brush, focusing on heavily soiled areas, stains, and high-traffic areas.
Rinsing and Drying
Dampen a microfiber cloth with clean water and use it to wipe away the cleaning solution from the upholstery and carpets. Continue doing this until the water runs clear and no cleaner residue remains. Finally, air dry them completely.
Optional Steps
If you have a steam cleaner available, you can use that to make cleaning easier. Steam cleaners use minimal water allowing for shorter drying time and get rid of microbes by creating an inhospitable temperature for their growth.
For drying, you can use a wet/dry vacuum to suck up excess moisture from the upholstery and carpets. This also helps prevent mold and mildew growth.
Use the vacuum on its lowest setting and work in small sections, overlapping each pass to ensure thorough drying.
To prevent future stains, you can apply an upholstery protectant once the upholstery and carpets are completely dry.
Seats and Leather Surfaces
Taking care of car seats and leather surfaces is essential for preserving their appearance, comfort, safety, and functionality. Here’s how to give them proper care.
Materials Needed:
- Soft bristle brush
- Microfiber towel or cloth
- Leather cleaner
- Leather conditioner

The procedure for cleaning seats and leather surfaces is very similar to that of cleaning upholstery and carpets, which we just tackled. For leather surfaces, however, it’s best to use products specially formulated for leather to give your upholstery proper care.
Leather cleaners and leather conditioners are used to clean and moisturize leather surfaces, keeping them supple and preventing cracking, wrinkling, and fading.
Leather cleaner helps restore the original color and texture of the leather, keeping it looking fresh and new. Leather conditioner replenishes the natural oils and moisture in leather, keeping it soft, supple, and flexible, and preventing it from drying out and becoming stiff or brittle over time.
Odor Elimination
Sometimes, some odors may linger even after cleaning. Eliminating odors in a car is essential for enhancing comfort, and promoting health and well-being for everyone inside the car. Here’s how to take care of any residual odors.
Materials Needed:
- Odor remover / neutralizer
- Air freshener
- Ozone generator (optional)

First, air the car out - open all the windows and doors to allow fresh air to circulate through the car.
Odor removers/neutralizers like Emzone OdorStop are designed to chemically neutralize odors rather than just masking them.
Optionally, you can use an ozone generator for particularly stubborn odors if you have one available. Ozone (O3) is a powerful oxidizing agent that can break down odor-causing molecules.
However, ozone gas can be harmful if inhaled in high concentrations. Close all car doors and windows when using an ozone generator inside your car.
Follow safety guidelines and manufacturer instructions, and avoid exposure during operation.
Whether you run the machine for around 30 minutes or a few hours depends on the severity of the odor and the size of your car. When you’re done, make sure to ventilate the car thoroughly.
To top off this part of the detailing process, you can use a mild-scented air freshener. Choose a scent that you enjoy and find pleasant (e.g. floral, fruity, citrus, woody, or clean scents.).
To prevent odors in the future, here are some good practices:
-
Vacuum the seats, carpets, floor mats, and trunk frequently
-
Wipe your dashboard, door panels, and other surfaces regularly
-
Keep the upholstery and carpets clean
-
Avoid smoking in your car
-
Avoid keeping wet items inside your car; use dehumidifiers or silica gel packs
-
Ventilate regularly
-
Avoid eating in the car to minimize food spills and crumbs
-
Use a car trash bin and empty it regularly
-
If you have pets, you can use pet covers and clean pet hair promptly
When using tools or equipment, whether hand tools, power tools, or heavy machinery, safety should always be a top concern. For more pointers, you can check out our safety tips for using tools.
Exterior Car Detailing
The exterior of a car is its first line of defense against the elements: rain, sun, dirt, and debris; without proper care, a vehicle's paint can quickly succumb to fading, oxidation, and corrosion.
Car exterior detailing guards against these and mitigates the risk of damage. By meticulously washing, waxing, and applying protective coatings, you can shield your vehicle more from the ravages of weather and time.
Car Washing
Washing a car before detailing lays the foundation for a successful detailing process. It prepares the surface for optimal results, prevents damage, and enhances the overall finish.
Materials Needed:
- Three Buckets
- Car Wash Shampoo
- Wheel Cleaner
- Tire Cleaner
- Wheel Brush or Sponge
- Wash Mitt or Sponge
- Microfiber Towels
- Hose with a Nozzle Attachment or Pressure Washer

Family Handyman recommends rinsing before washing:
“If you hit your dry paint with soapy water, you’ll just grind the surface dust and road grit into your paint finish. Professional detailers always start with a clear water rinse to remove as much dust and dirt as possible.”
And as far as appropriate cleaning solutions are concerned, Popular Mechanics offers this advice:
“Not all automotive cleaning products are all-purpose. The wrong product could even damage the paint, clear coat, or other finishes inside and out. If you have any doubts as to what your car’s components are made of, always default to the mildest cleaning products you can find.”
The Three Bucket Method
The Three Bucket Method includes one bucket for washing the car body, one bucket for rinsing the wash mitt or sponge, and a dedicated bucket for cleaning the wheels and tires.
This car washing setup aims to minimize the risk of scratching or marring the paintwork during the washing process and to ensure that clean water and cleaning tools are used for each part of the car.
Before you reach for your buckets though, Larry Kosilla from AMMO NYC recommends this simple yet "by far the most overlooked" part of car washing,
"walk around the car and assess the level of dirt... spend one minute looking at the car to help you form a proper game plan."
He explains that doing so will help you identify which parts of your vehicle need extra attention early on (e.g. chips, dings, tar, and the like).
Check out his step-by-step guide below for more tips on how to wash your car.
Bucket #1: Soapy Water Bucket
This bucket contains a mixture of water and car wash shampoo and is used for cleaning the car's body panels.
-
Fill the bucket with clean water first, then add the appropriate amount of car wash shampoo according to the manufacturer's instructions.
-
Use a high-quality pH-neutral shampoo to ensure gentle cleaning without stripping wax or sealant protection.
-
Gently agitate the water to create suds.
Bucket #2: Rinse Bucket
This bucket is filled with clean water and is used to rinse the wash mitt or sponge after cleaning each section of the car's body.-
Fill the bucket with clean water, leaving enough space for the dirt and debris to settle at the bottom.
-
Rinse the wash mitt or sponge thoroughly in this bucket to remove dirt and contaminants, preventing them from being reintroduced onto the car's surface.
Bucket #3: Wheel and Tire Bucket
This bucket is also filled with clean water and is for cleaning the wheels separately as they tend to be the dirtiest part of the car.
-
Add a recommended amount of a suitable wheel cleaner to the water. Follow the manufacturer's instructions on the product label for the correct dilution ratio.
-
Stir the water gently to mix the cleaner thoroughly.
Washing the Wheels and Tires
When washing a car, it's best to tackle the wheels and tires first.
Because they are in direct contact with the road surface and are exposed to various contaminants, the wheels and tires tend to be among the dirtiest parts of a car's exterior in general.
If you wash the body first and then move on to the wheels and tires, there's a risk of transferring brake dust and road grime from the wheels back onto the clean body panels as you rinse or move around the vehicle; this can cause scratches on the paintwork during washing.

Pre-Rinse the Wheels and Tires
Start by giving the wheels and tires a thorough pre-rinse with water using either a hose with a nozzle attachment or a pressure washer to remove loose dirt and debris.
Clean the Wheels
Apply wheel cleaner onto the wheels, focusing on areas with brake dust buildup and dirt. Make sure the entire wheel surface is covered and follow the manufacturer's instructions for the appropriate dwell time.
Leaving the cleaner on for too long can damage the wheel finish, while not allowing enough dwell time may result in incomplete cleaning.
After allowing sufficient time for the cleaner to sit, dunk your wheel brush or sponge into the Wheel and Tire Bucket containing the wheel cleaner. Gently but firmly, scrub each wheel thoroughly, focusing on the spokes, rims, and inner barrels.
Scrub the Tires
Apply a tire cleaner or degreaser onto the tire sidewalls. Use a tire brush or scrubbing pad to scrub them thoroughly of any dirt, grime, or old tire dressing.
Avoid getting tire cleaning products on the wheels, as they may be formulated differently and could damage the wheel finish.
Rinse the Wheels and Tires
Rinse the wheels and tires thoroughly with clean water and make sure to remove all traces of cleaning substances and dislodged dirt and grime. Popular Mechanics further suggests to,
“Skip the tire dressing that makes your sidewalls look darker and shinier, too. It’s as slippery as it is shiny and can negatively affect your tires’ ability to grip the road.”
Washing the Car Body
According to Family Handyman, when it comes to washing the body of a car,
“Dishwashing liquid is the go-to choice for most DIYers. But it shouldn’t be. Dishwashing detergent is simply too harsh for auto detailing. It sucks important oils out of your car’s finish and can actually shorten the life of your paint.”
Instead of detergent, opt for pH-neutral shampoos as they are formulated to have a balance between acidic and alkaline properties; this means they are neither too acidic nor too alkaline.
This balance ensures that they are gentle on the paintwork and won't strip away protective coatings or wax layers.
Pre-Rinse the Car Body
As with the wheels and tires, begin by pre-rinsing the car body with water using a hose and spray nozzle to remove loose dirt and debris. Begin at the top and work your way down to prevent dirt and debris from being dragged across already-cleaned surfaces.
Wash the Car
Dip the wash mitt or sponge into the Soapy Water Bucket.
Start at the top of the car, washing with gentle strokes. Avoid circular motions to minimize the risk of creating swirl marks.
Frequently rinse the wash mitt or sponge in the Rinse Bucket to remove dirt and debris before reloading with soapy water.
Clean in Sections
Work your way down the car, washing in sections - roof, windows, hood, doors, etc. Pay special attention to areas that collect more dirt, like the lower panels and bumpers.
Rinse Thoroughly
After washing each section, rinse thoroughly with clean water to remove soap and loosened dirt, still working from the top and going all the way down.
Dry the Car
Use a microfiber towel to blot and pat the car dry. Maintaining the process of working from top to bottom will help prevent water spots and streaks. Just avoid rubbing to avoid scratching the paint and you’re done washing your car’s exterior.
Paintwork
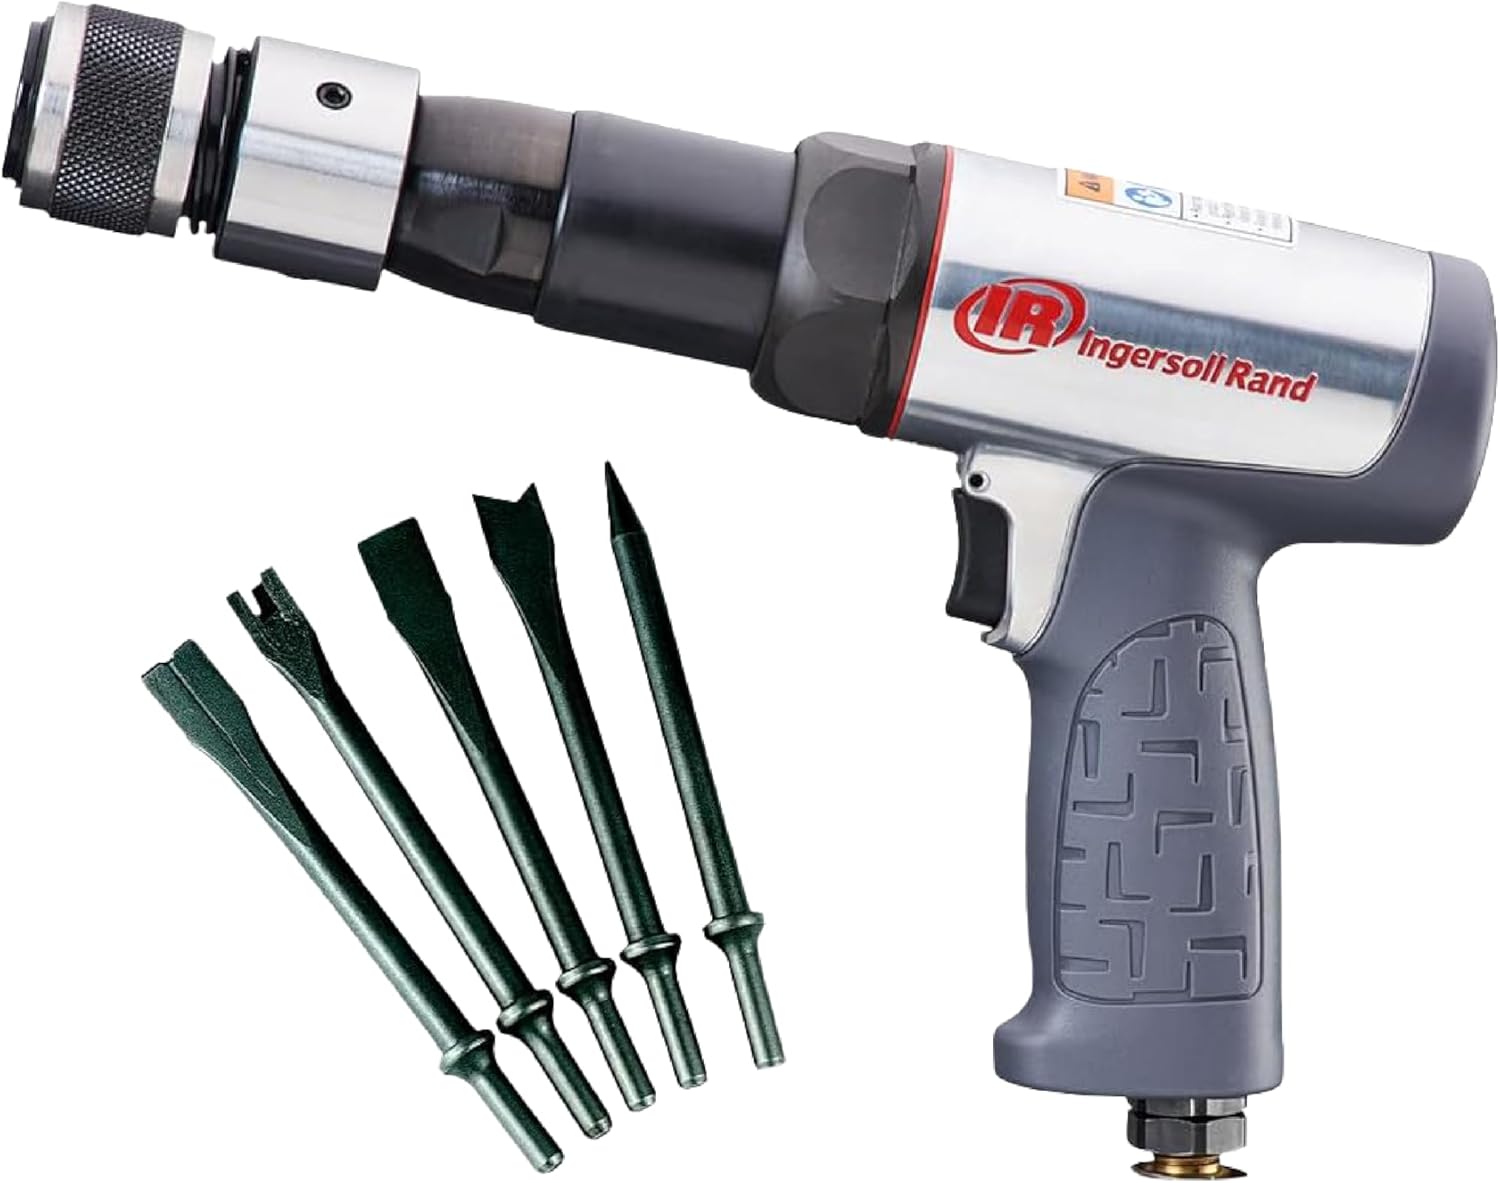
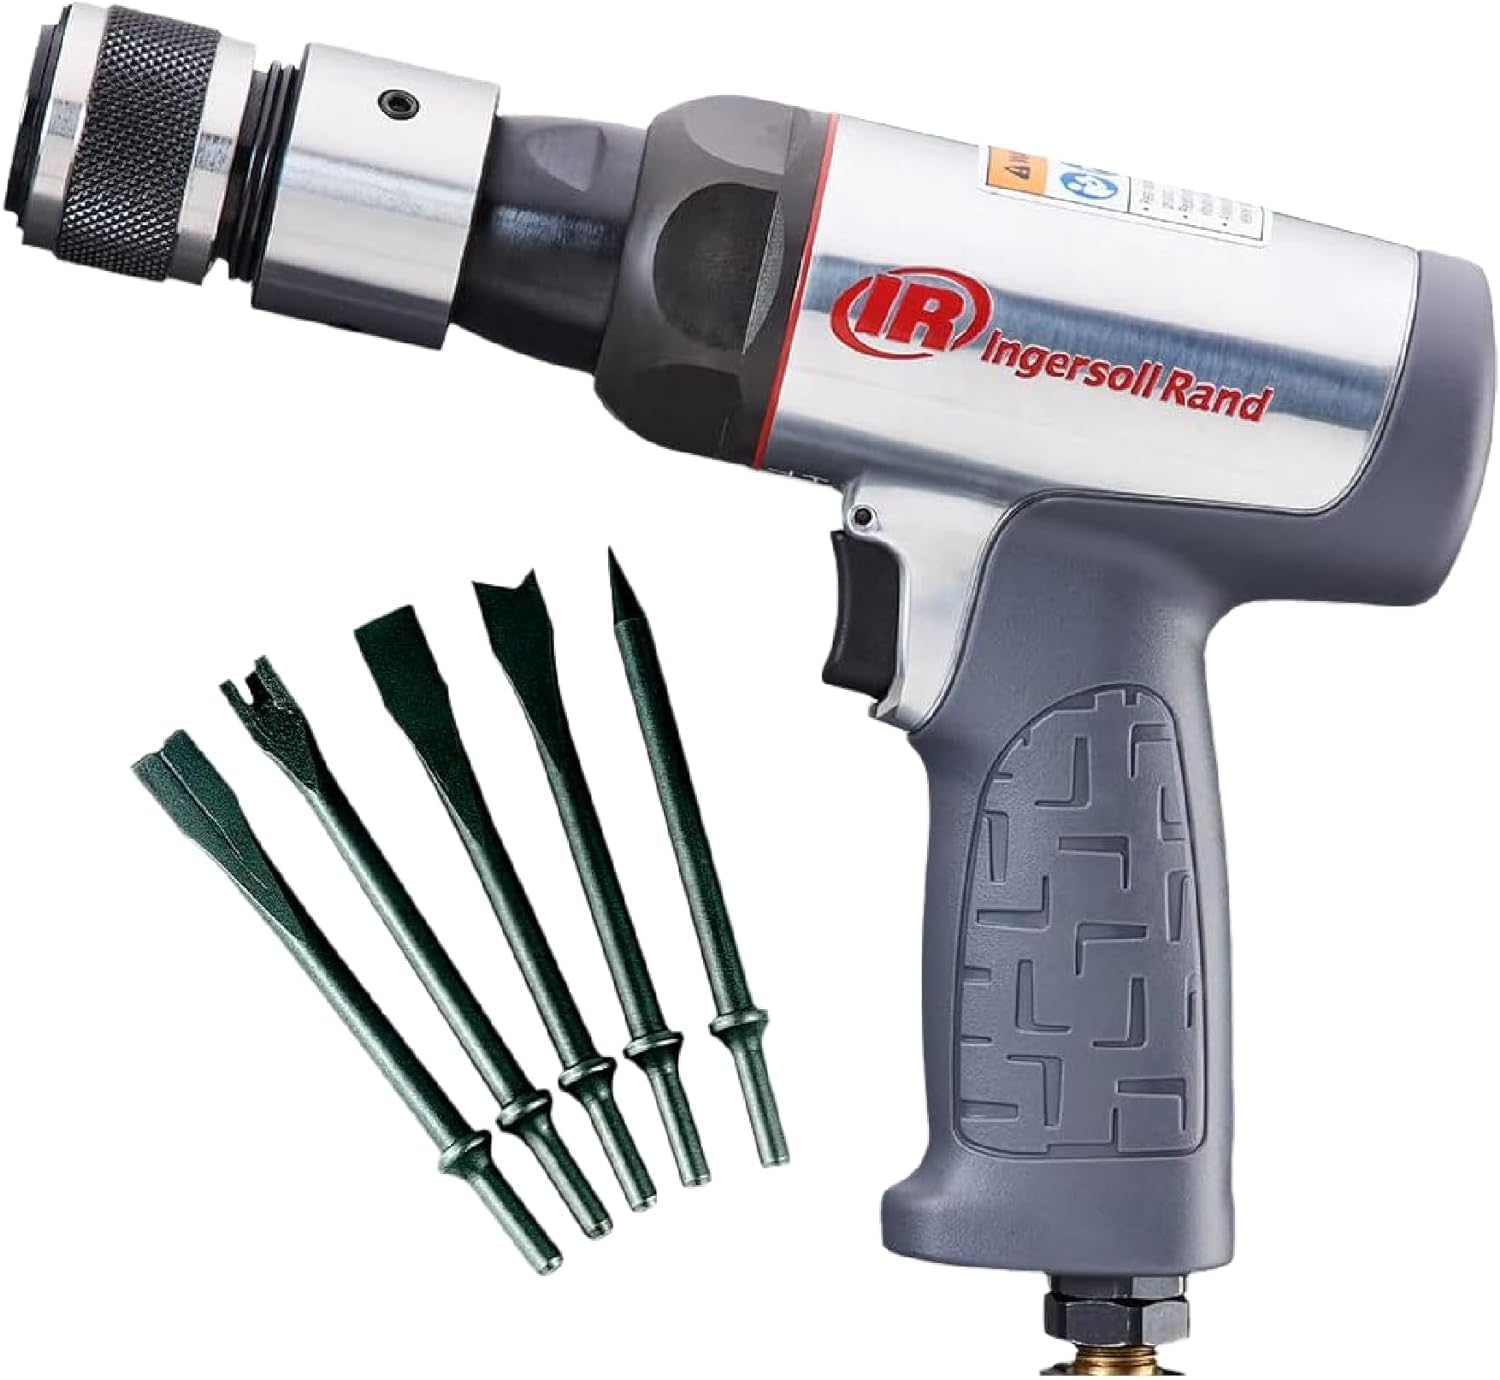
When it comes to correcting paint imperfections, precision is key. That's where advanced tools come into play.
Materials Needed:
- Clay Lubricant
- Clay Bar or Clay Mitt
- Dual-Action Orbital Polisher
- Car Window Cleaner or a Suitable Glass Cleaner
- Microfiber Towels
- Plastic Trim Restorer
- Applicator Pad
- Metal Polish

When it comes to correcting paint imperfections, precision is key. That's where advanced tools come into play.
Clay Bar Treatment
The use of clay after washing is paramount, as it effectively removes unseen contaminants from the clear coat, ensuring a smooth surface conducive to subsequent correction and protection steps.
Spray a clay lubricant onto the paintwork and gently glide a clay bar or clay mitt over the surface to pick up contaminants. Be sure to knead and fold the clay bar regularly to expose a clean surface.
In their guide to paint correcting and protection, Motor Authority suggests:
“fold the clay into itself half a dozen times or so to work the dirt and contaminants into the center of the clay. Dry the panel with a microfiber towel, and feel the paint. If it’s not perfectly smooth, go over it again. Putting your fingers in a thin Ziploc bag and running them over the paint increases the sensation and allows you to better feel contaminants in the paint.”
As for more details on how to go about the whole process, they recommend starting with the hood, then progressing to the front fenders, A-pillars, roof, upper sections of the doors, rear fenders, and trunk/hatch. Afterwards, the lower bumpers, rockers, and moldings.
Paint Correction
If necessary, perform paint correction to address surface imperfections such as swirl marks, scratches, and oxidation. To remove these while preserving the integrity of the paint, you can use a dual-action orbital polisher. It will restore clarity and gloss to the paintwork.
Protection
Apply a protective coating to the paintwork to enhance gloss and durability while providing long-lasting protection against environmental elements. Options include ceramic coatings, paint sealants, and wax. Follow the manufacturer's instructions for application and curing times.
Wheels and Tires
If desired, apply a wheel wax or sealant to protect the wheel surface; it forms a barrier that helps prevent dust and grime from sticking to the wheel surface, making future cleaning easier and maintaining your wheels' appearance.
Be sure to follow the application instructions on the package of the product of your choice.
Glass Surfaces
Select a high-quality glass cleaner that is specifically formulated for automotive use. Ammonia-free cleaners are preferred as they are less likely to damage tinted windows or sensitive surfaces.
Begin by wiping a dry microfiber towel over the exterior glass surface to remove any loose dirt, dust, or debris. This helps prevent scratching the glass during the cleaning process.
Spray an ample amount of cleaner onto the glass surface, then wipe with a clean microfiber towel. You can use a clean microfiber to buff the glass as well until it looks crystal clear.
For the windows, don’t forget to clean off the grime buildup on the side of the glass that you can only see when you roll the windows down. You can still use an automotive glass cleaner or a car window cleaner for this.
Trim and Plastic Surfaces
Over time, exposure to sunlight, weather, and environmental contaminants can cause plastic trims to fade, oxidize, or lose their shine.
A plastic trim restorer helps address these issues by restoring color, providing UV protection, and adding a glossy or matte finish to the plastic surfaces.
On clean and dry plastic surfaces, apply a small amount of plastic trim restorer using either a clean microfiber towel or an applicator pad. If you're using a liquid restorer, you can also apply it directly to the trim surface and spread it evenly using a foam or microfiber applicator pad.
Work the product into the plastic trim using gentle, circular motions. Make sure to cover the entire surface evenly and allow it to penetrate the surface for a few minutes.
Use a clean microfiber towel to buff off any excess product. This will help avoid streaks and ensure an even finish.
Metal Surfaces
Metal polish effectively removes oxidation, tarnish, and surface imperfections, restoring the natural shine and luster of a car’s metal surfaces.
It also provides a protective barrier that helps prevent corrosion and rust from forming on metal parts, extending their lifespan and maintaining their structural integrity. For more related tips, you can check out our guide to keeping your car rust free.
To apply metal polish or cleaner, put some of the product on a clean microfiber towel or an applicator pad. Work the polish onto surfaces in small, circular motions.
Focus on one area at a time to ensure thorough coverage. Afterwards, use a clean microfiber towel to buff the surfaces to a shine. Buff in the direction of the grain or pattern of the metal for best results.
For added protection and shine, you can apply a metal sealant or wax to the treated surfaces.
Unveil Your Car's Brilliance - Everything You Need in One Place
Beyond mere aesthetics, regular detailing plays a crucial role in maintaining the value of a vehicle, and to fully realize the benefits of car detailing, it is crucial to have access to all the necessary supplies and equipment conveniently.
If you’re looking to elevate your car detailing game to the next level, don't settle for anything less than perfection - visit MPR Tools & Equipment and unleash the full potential of your vehicle.
We’re your one-stop shop for all your detailing needs: We bring you only the very best tools from the most trusted brands in the automotive industry.
With a steadfast commitment to quality, durability, and customer satisfaction, we also offer personalized customer service, free shipping on eligible orders, free tools for orders over $400, our one-year Price Match Guarantee, plus a 30-day money-back guarantee to provide you with added peace of mind.
With the right tools and supplies, the only limit is your imagination. Check out our catalogue today to get ready to achieve professional-grade results from the comfort of your own garage.
Have a sparkling time detailing your ride.
Happy Tinkering!
Sources:
https://www.turtlewax.com/blogs/how-to/the-complete-car-detailing-guide
https://www.dubizzle.com/blog/cars/clean-car-interior-or-exterior-first/
https://www.familyhandyman.com/list/diy-tips-for-detailing-cars-like-a-pro/
https://www.popularmechanics.com/cars/car-technology/a36290120/do-it-yourself-car-wash/

